一、安装以太坊(Ethereum)客户端
执行以下命令,安装以太坊客户端
1 | apt-get update |
安装完成后,命令行输入
1 | geth -h |
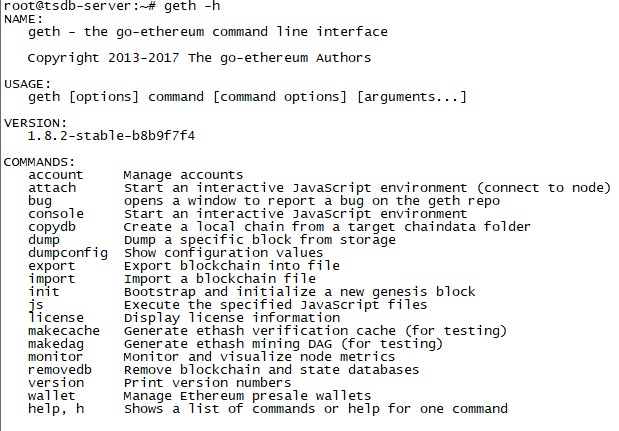
出现上图信息说明安装成功!
二、创建私链
2.1 创建创世块
创建一个genesis.json文件,并将以下内容写到该文件中并保存
1 | { |
2.2 初始化私链
1 | geth --datadir data --networkid 20140628 --rpc --rpccorsdomain "*" init ./genesis.json |
- 其中 ==init==后面所带的为上面所创建genesis.json文件路径
2.3 启动私链
1 | geth --datadir data --networkid 20140628 --rpc [--rpcaddr "192.168.10.150"] --rpccorsdomain "*" --nodiscover --port 30303 --rpcport 8545 console |
其中==–rpcaddr==为可选部分,如果需要外部访问私链,需要将运行节点本机ip绑定 –rpcaddr “192.168.10.150”
2.4 创建账号并开始挖矿
- 创建账号
personal.newAccount(“123456”);
括号中参数为账号私钥密码
2.开启/停止挖矿
miner.start(‘1’)
括号中参数代表参与挖矿线程,若不加此参数则会使用机器所有线程进行挖矿
miner.stop()
2.5 其它相关命令
查询第一个账户余额
1 | web3.fromWei(web3.eth.getBalance(web3.eth.accounts[0]),"ether") |
查询第二个账户余额
1 | web3.fromWei(web3.eth.getBalance(web3.eth.accounts[1]),"ether") |
第一个账户向第二个账户转入50 ether
1 | web3.eth.sendTransaction({from:web3.eth.accounts[0] , to: web3.eth.accounts[1],value: web3.toWei(50, "ether")}) |
为第一个账户解锁,一般在发起交易时需要使用
1 | personal.unlockAccount(web3.eth.accounts[0]) |
连接geth控制台
1 | ./geth attach http://127.0.0.1:8545 |
最后更新: 2019年05月14日 16:26
原始链接: https://silence-linhl.github.io/blog/2018/10/01/ubuntu-ethereum-establish/